this post contains affiliate links to products. the tiny white house may receive a commission for purchases made through these links—at no additional cost to you. thanks for your support in this way!

When I used to do design work for a contractor, it was in my job description to shop. whether it was to decorate and furnish the newly constructed contractor's office or to select mirrors or cabinet hardware for a client, I got paid to go shopping. every girl's dream, right?
I've actually never been a huge shopper. perhaps it's because I tend to be frugal and don't love to spend money. perhaps it's because it wasn't something I did much growing up. I'm one of four children and shopping [with four kids in tow] wasn't something my mother did often or happily. so, maybe it's genetic—my mom doesn't like to shop, so it's only natural that I don't enjoy it. whatever the reason, shopping is not exactly my first choice unless I am searching for—or happening upon—something for my home. now that is something I love. yard sales + secondhand stores are what my dreams are made of.
occasionally, when running errands for work, I'd make the necessary stops and shop for clients, but I'd also stop by Goodwill or one of my other honey holes if I got the chance. I was doing just that when I came across this pretty little chair. I knew it would need some sprucing, but for ten bucks? I couldn't pass that up.


The white paint makes me think the previous owner tried their hand at DIY-ing, but stopped short of reupholstering it. the green fabric looks a little dated, like it may be from the 80s or 90s. I knew for certain it was older when I was standing on the chair one day to fix something up high and I heard the fabric rip under my feet. oops. good thing I was planning on fixing it up! another tell-tale sign of its age happened when I began the reupholstery... the original foam seat cushion had rotted and begun to break down.
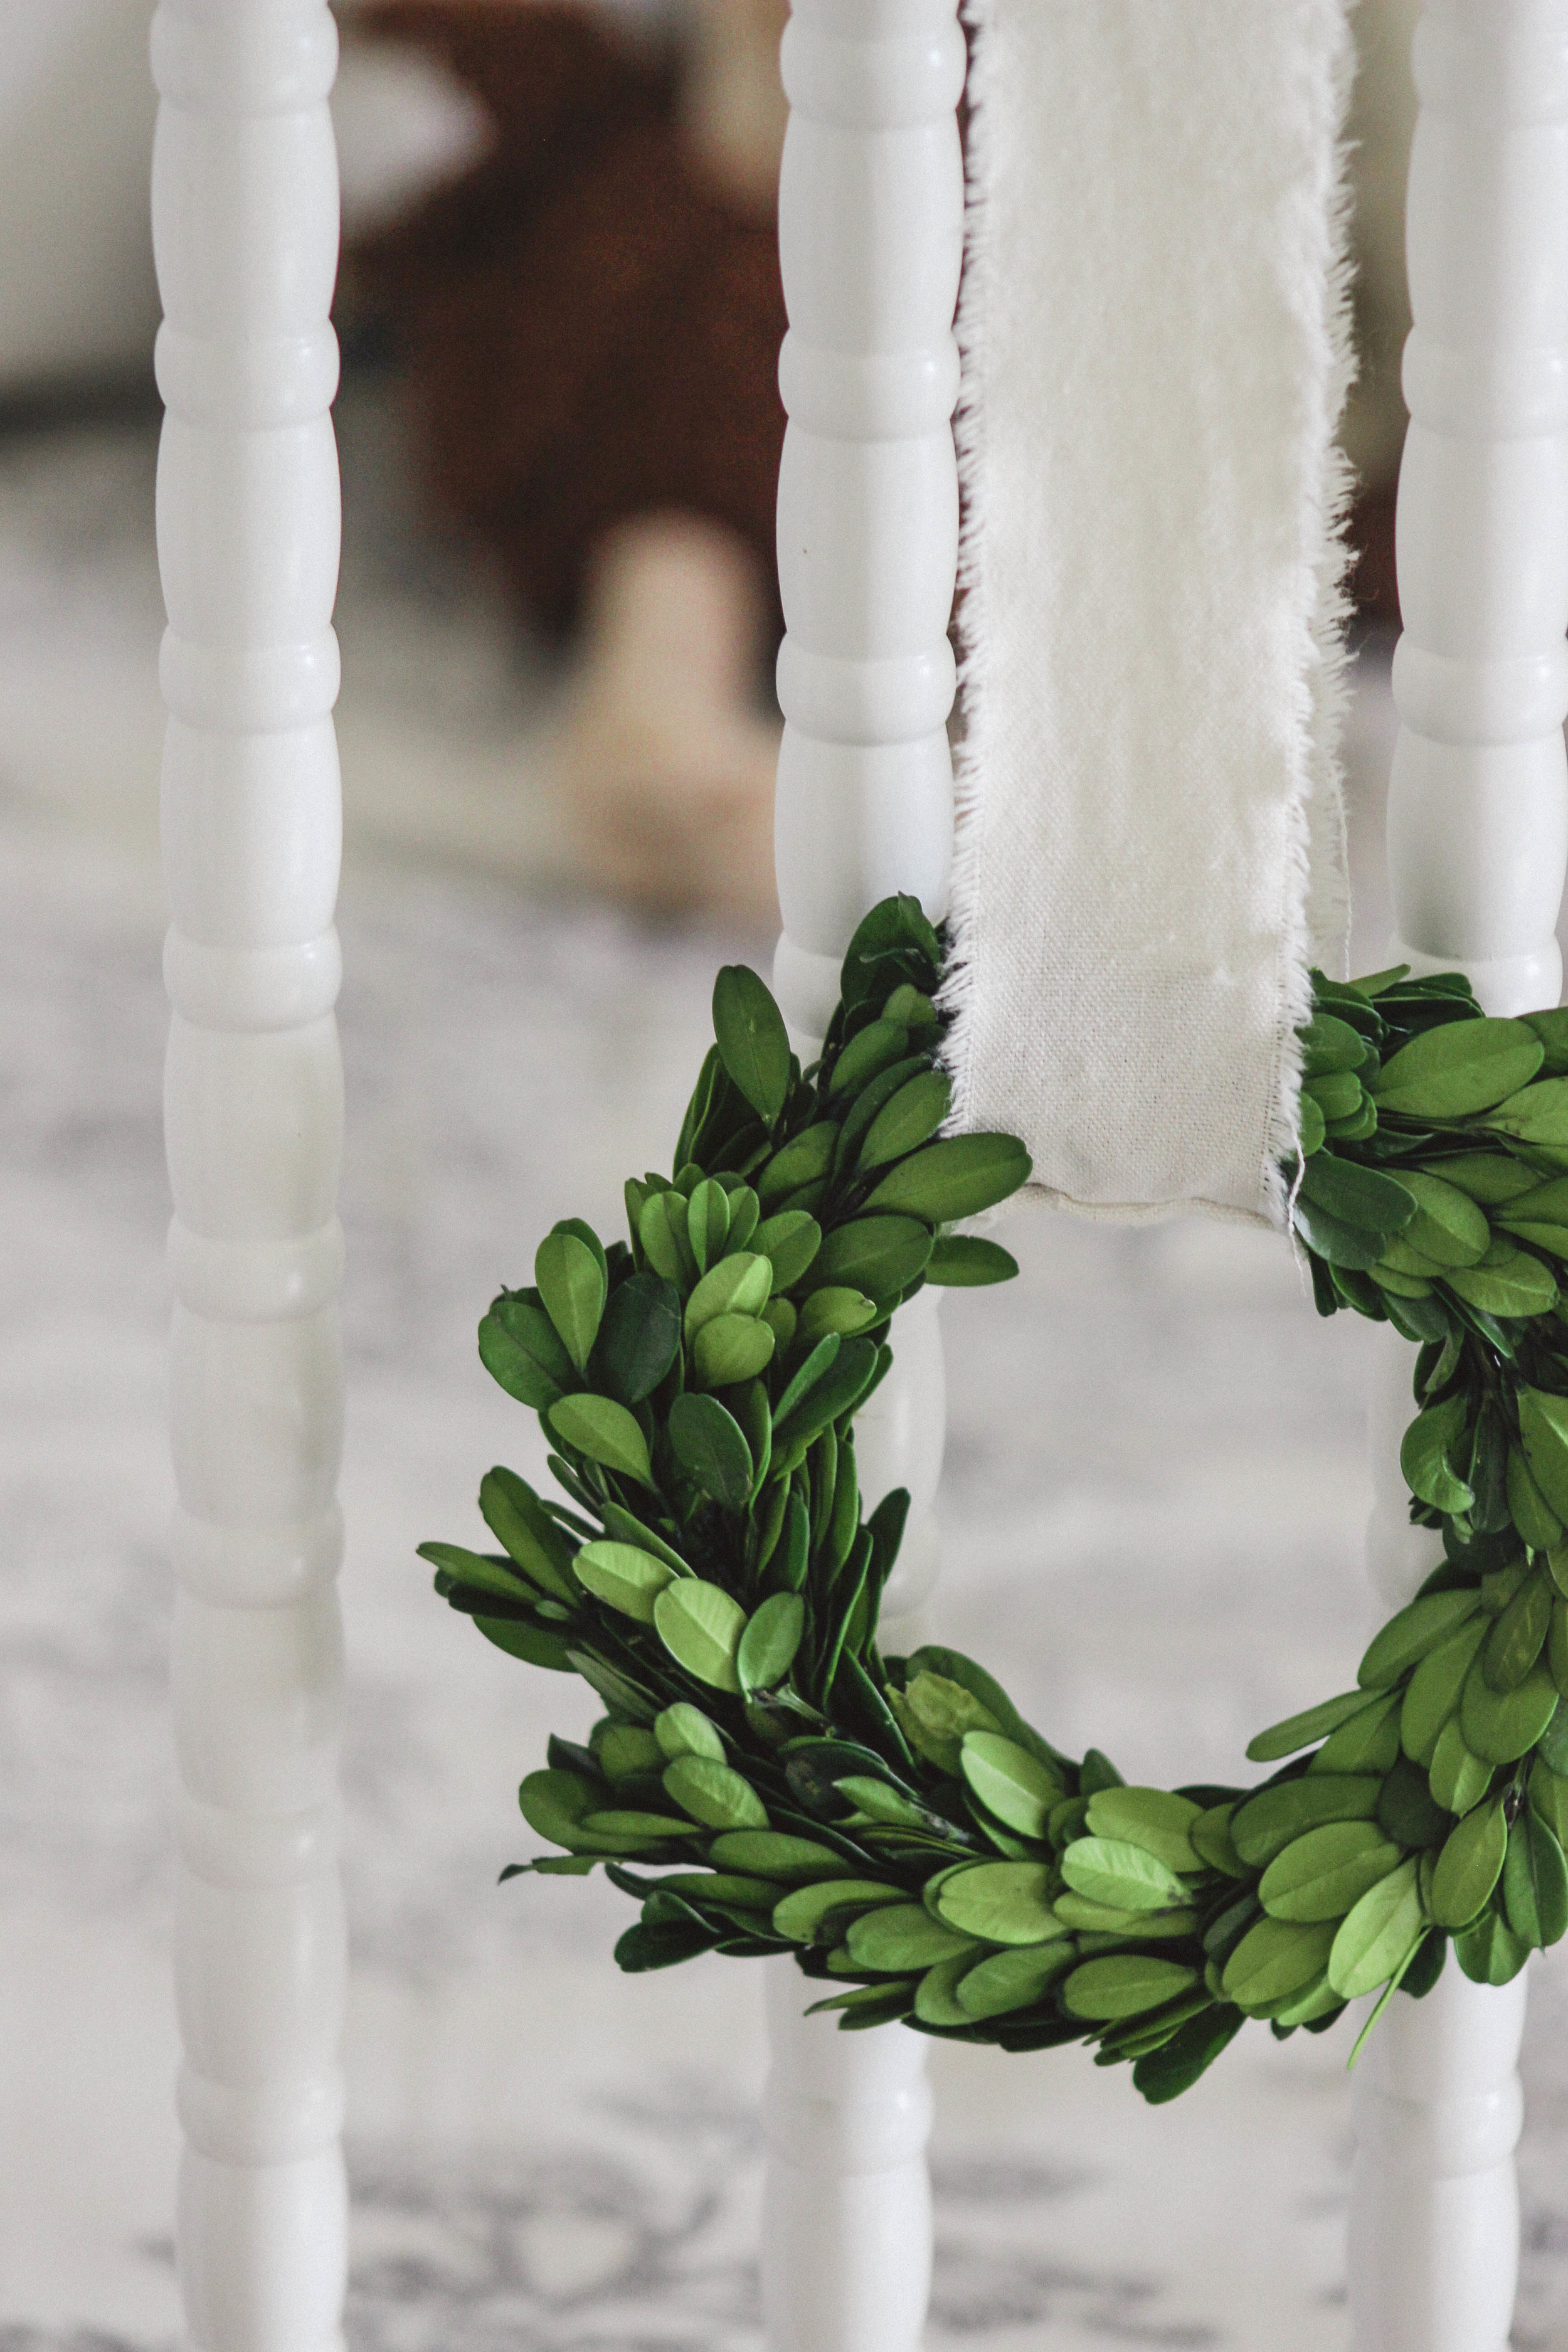
I would've loved to have stripped the chair down to the natural wood. however, due to the cane being painted and the fact that stripping can damage cane, I decided to just paint it. as always, I was going for a timeless, traditional look, so my vision included black paint and some kind of neutral fabric. at first I planned to use an ivory fabric I picked up at the fancy fabric store during a remnant sale, but I ended up using a canvas drop cloth. this isn’t my first go-round using this material for drapery and upholstery. remember this? instead of using a nailhead trim to finish it off, I opted for a softer, more feminine look with this trim I found at Hobby Lobby.
I started off with a bang and quickly ran out of gas. removing the nailhead trim was an extremely tedious—and dangerous—process and took hours. imagine little nails heads flying from every direction. I can't remember how many nail heads there were, but I know it was a lot because I lost count after I got to a hundred. then, when it came time for painting, I decided to give milk paint a try. I wasn't too impressed with the finish, so I ended up using regular ol' latex paint. before I could recover anything, I had to reinforce the seating by replacing the webbing. after that, I had to get a new cushion and cut it to size. suffice it to say, nothing went "according to plan." this chair may have been a steal for the price, but it certainly took a labor of love to transform it.
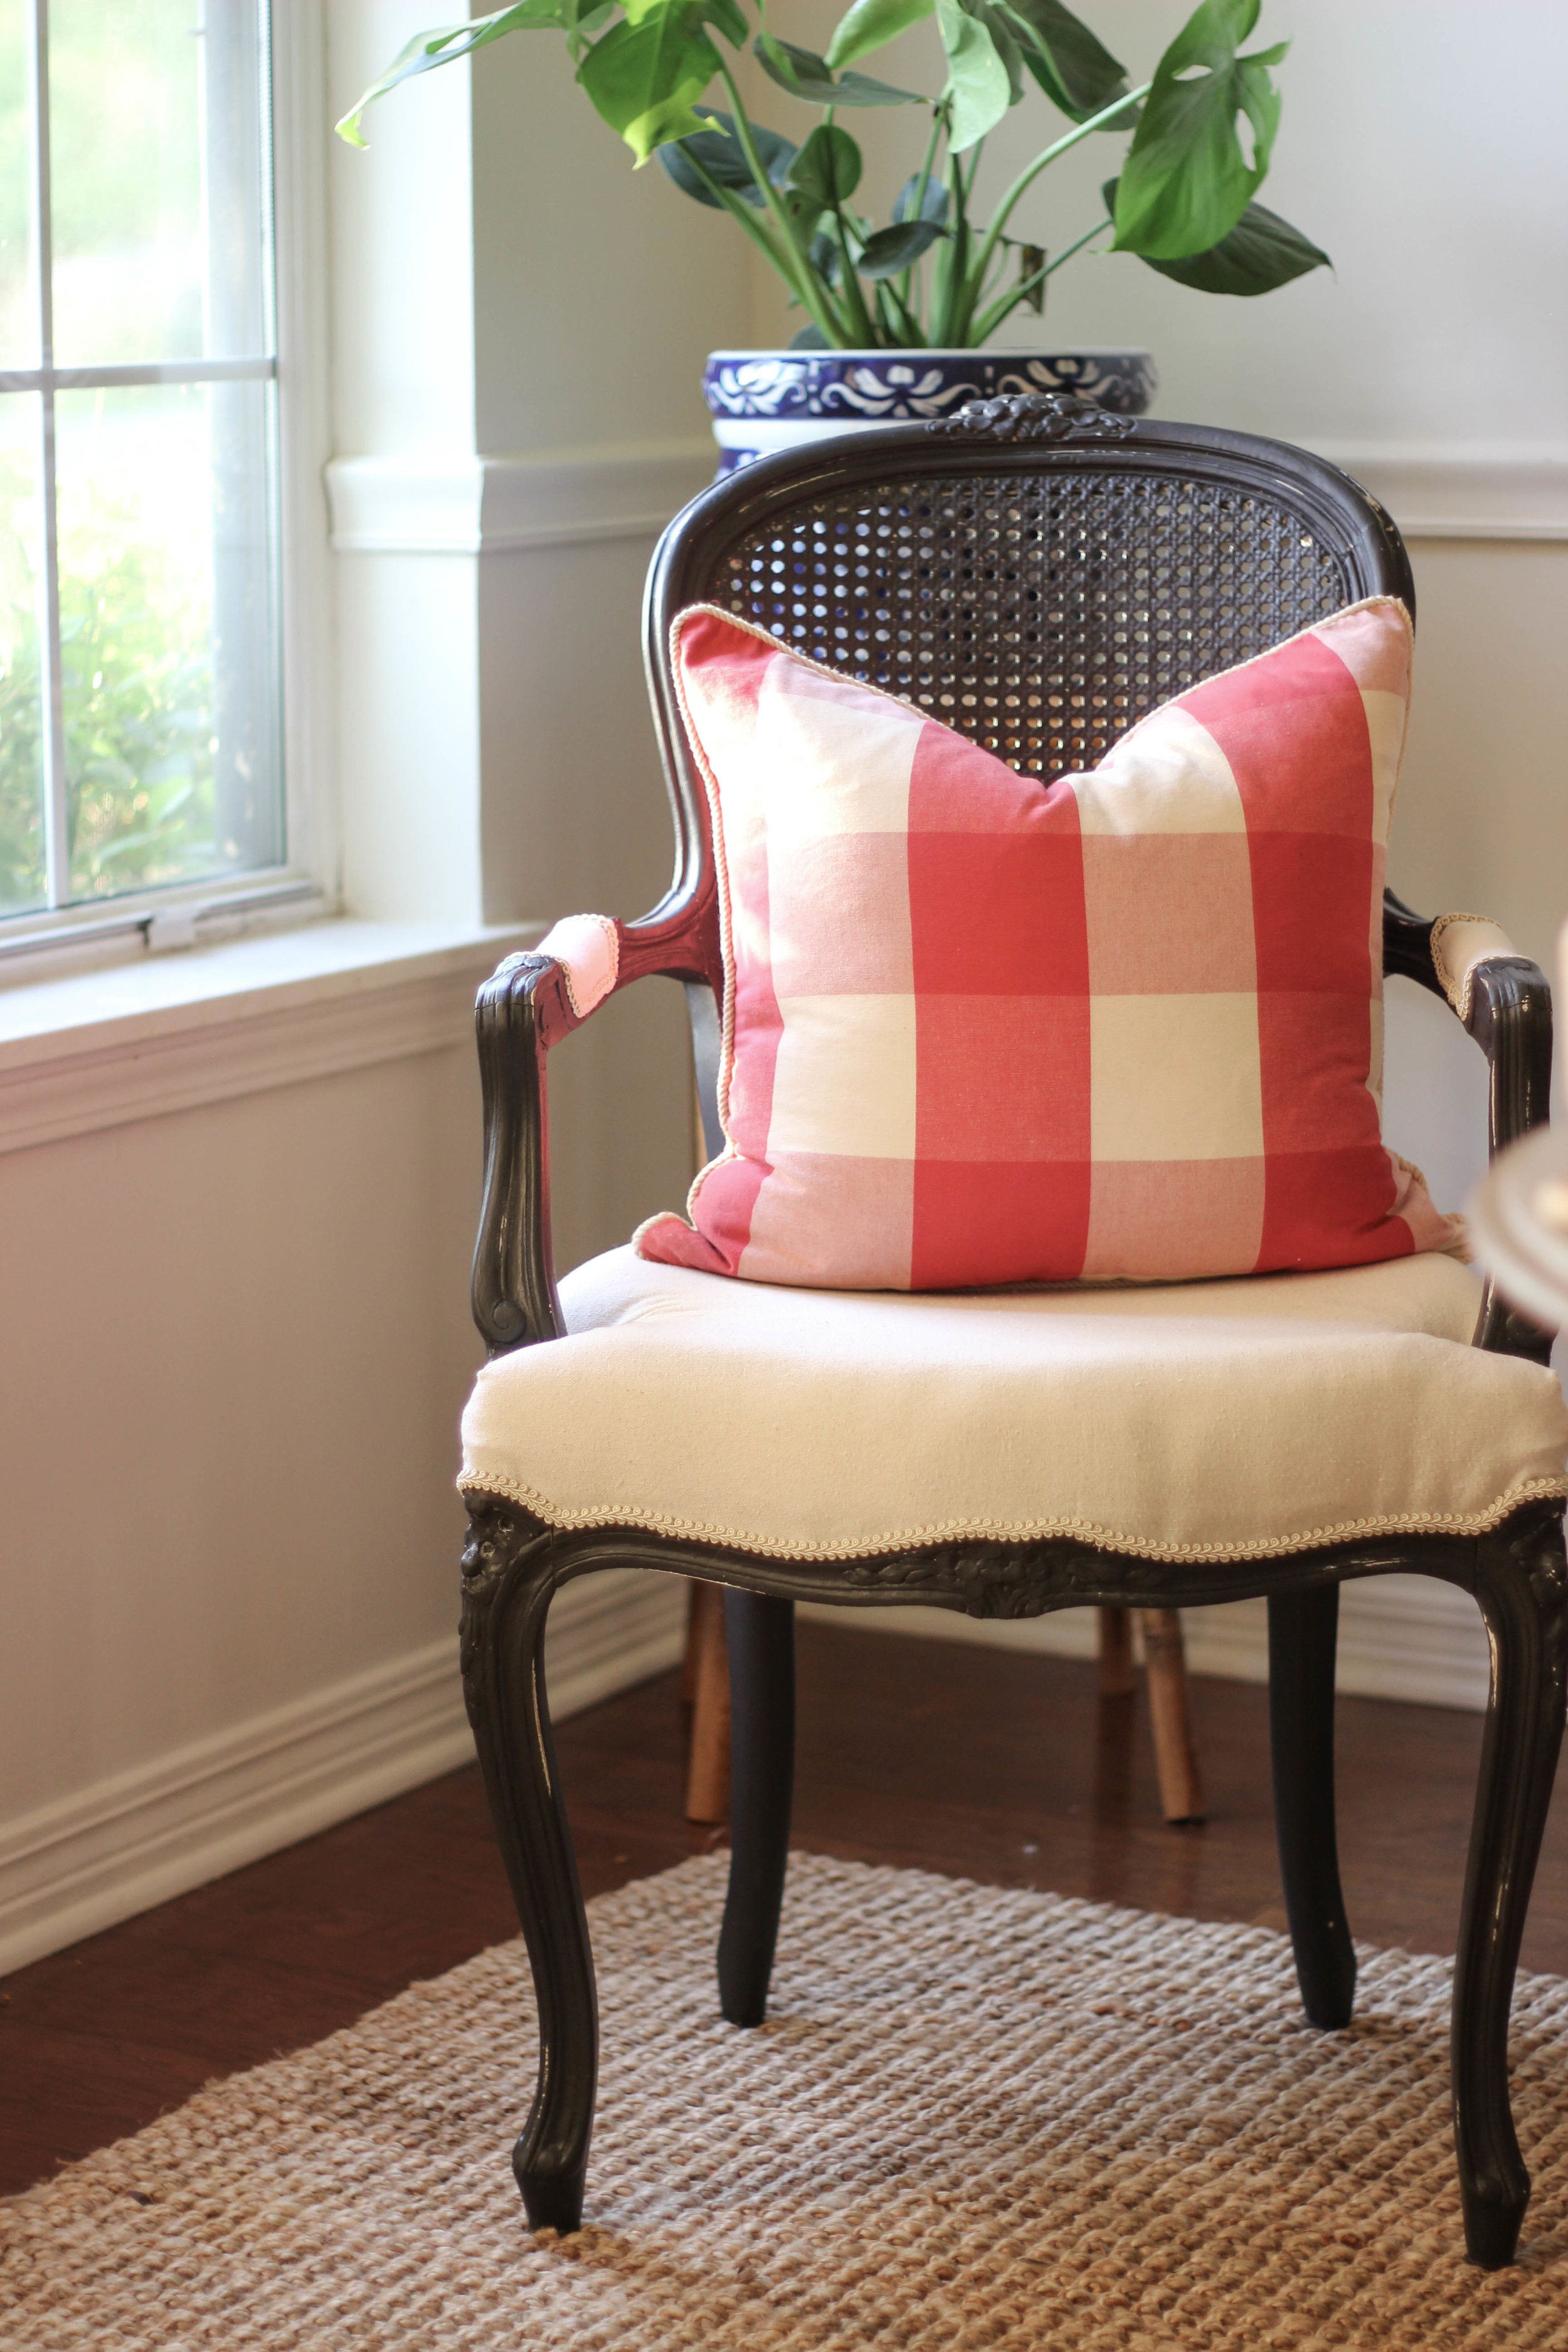


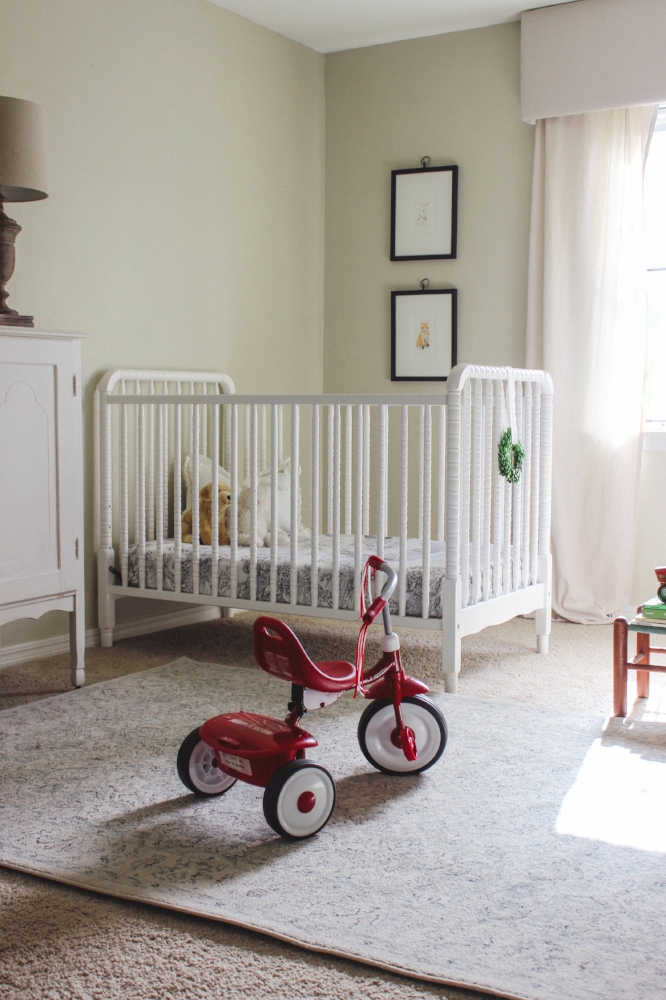
It only took a year to finish this project! sadly, I'm not kidding. let the record show, though, that I didn't work on this steadily, just whenever I had spare time or felt like it. I bought it in February 2017, right before my first baby turned a year old. then I had another baby that summer. in March 2018, I set to work on the chair’s makeover. for some silly reason, I thought I could finish the whole project within a month’s time. I was in a hurry to get it done, so we could have more seating available for Grey’s second birthday party in April 2018. I missed that deadline—but only by a year! we celebrated our boy’s third birthday a couple weeks ago and this little old chair finally made its big debut!


While I am pleased with the finished product, there is something to be said about the art of upholstery. it is surely not for the faint of heart. the scope of work in my project was on the smaller side and it wore me out! I can’t imagine reupholstering a wing chair or sofa. despite its challenges, though, it is certainly rewarding. but don’t be surprised if I take a little break before I get around to the cane barrel back chair that’s been sitting in the garage for a year or two. maybe next year…


![it's been a good Saturday around here! long afternoon naps, my favorite shrimp + corn chowder on the stove, and tonight I'm headed to the symphony with my mother + sister because we are nothing if not classy & cultured. [kidding, sort of] hope y'](https://images.squarespace-cdn.com/content/v1/58ed86dc6a4963699e38b8a9/1581115535231-3CJT33GQN1F0AS8331H3/image-asset.jpeg)