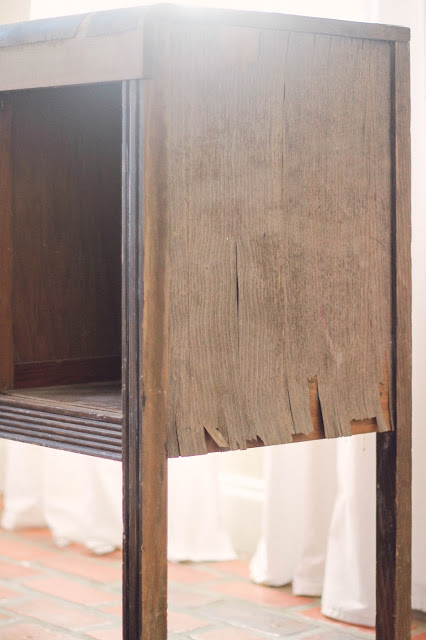
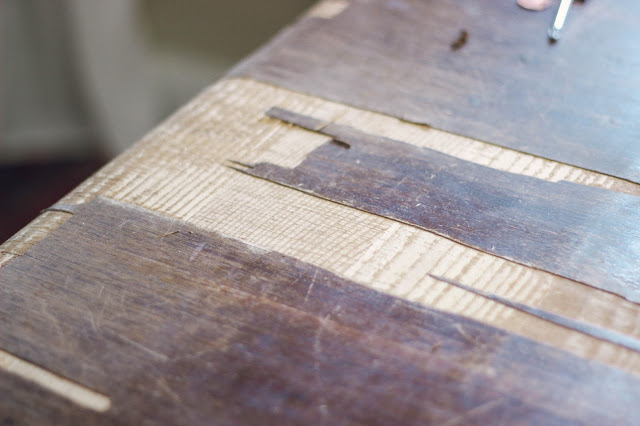
let me start by saying I am very pleased with the outcome of this project, but I need to be honest and tell you that removing veneer is not for the faint of heart. I had zero experience, as this was my first time to do so. and for whatever reason, I thought it would be a single, thin layer of veneer and that would be all. this was not the case. there was the top layer of veneer, another layer of thin cheap wood [I'm no wood expert, but I'd venture to say it was particle board or low grade plywood], bits of glue, and then I got to the real wood.
I also made a few mistakes. as I was pulling veneer off of the sides of the buffet, I felt some thin wood so I yanked at it, thinking it was a layer of the cheap wood over the real wood. this was also not the case. that was the actual side of the cabinet and I tore it off. luckily, my handy husband helped me out and we got some plywood, cut it to size, and secured it into place. this was probably a happy accident because this piece has seen a lot of life and needed a few nips and tucks.
before I began this project, I did a little research on Pinterest to learn how to remove veneer. my original plan was to strip the veneer and paint this piece white. you know, my go-to. but I plan to use it in our baby's nursery and there will already be a lot of white in there, so I decided to try my hand at antiquing wax and give it a stained look. I've never done this before either, so this project was an all around experiment. fortunately, it turned out well.
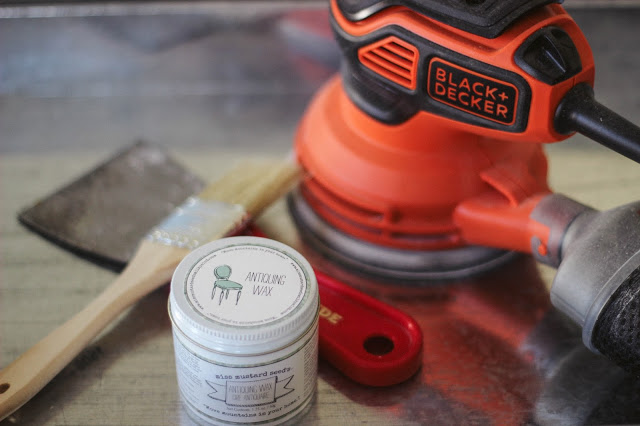
the materials I used in this project are listed below:
- gloves [this is probably common sense and a given when it comes to any type of woodworking project. I am an amateur, though, so it never even crossed my mind until I had sufficiently cut and bandaged multiple fingers.]
- joint knife
- damp towel
- clothes iron
- orbital sander
- antiquing wax
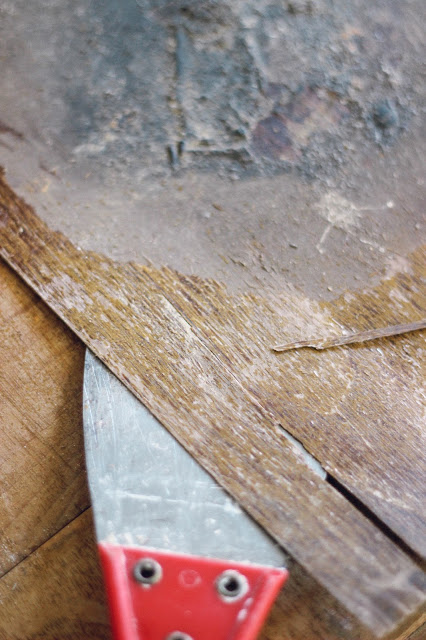
some pieces were already chipping and curling up. those were easy to peel off or pop off using the joint knife. and then there were other pieces...
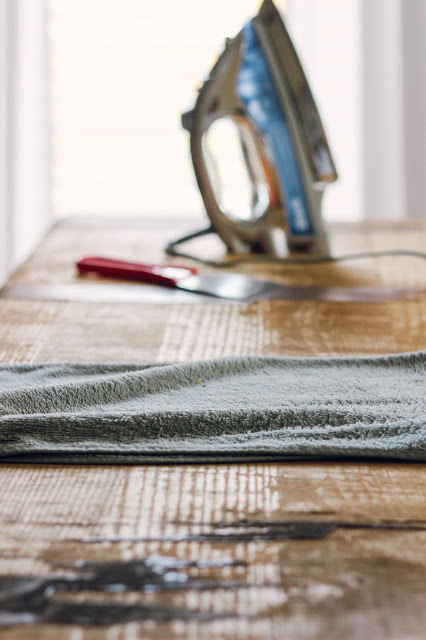
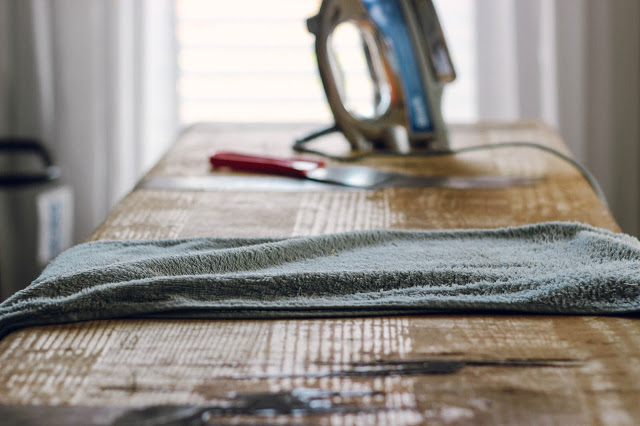
for really stubborn sections of veneer, I found that laying a damp towel down and ironing over hard-to-remove pieces helped to reactivate the glue and, in turn, loosen up the veneer. then I used the joint knife to scrape and lift away the damp wood. our little iron has never seen so much action.
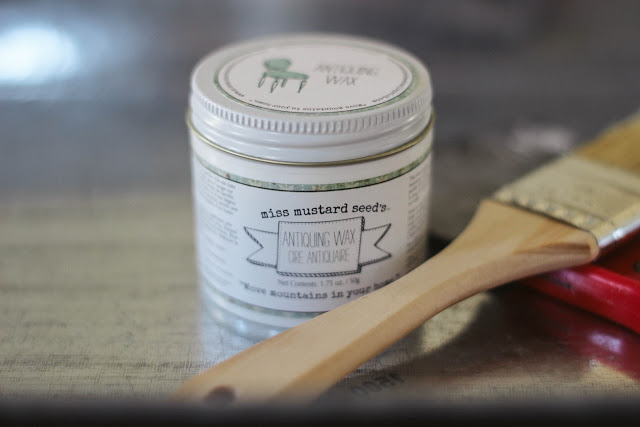
another thing I was excited to try in this project was this antiquing wax. it's by Miss Mustard Seed, who is one of my favorite designers. I love her work, and now I know I love her wax. maybe I'll try her milk paint next!
this project took longer than I anticipated. it probably could have been completed in a weekend or two, if I had worked nonstop. I, however, took my sweet time and many, many breaks. so it took me about six-ish weeks. not my best record, but it's done now and I'm happy with it.
ready to see the finished product? here it is!
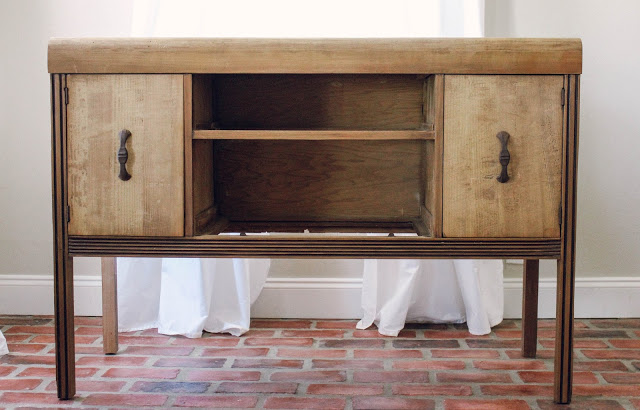
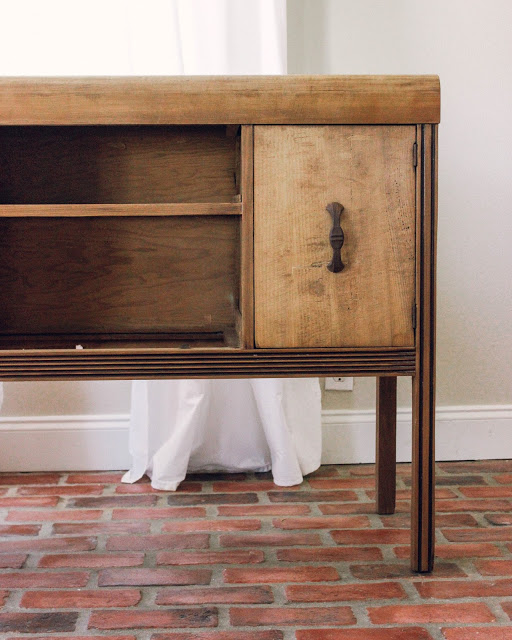
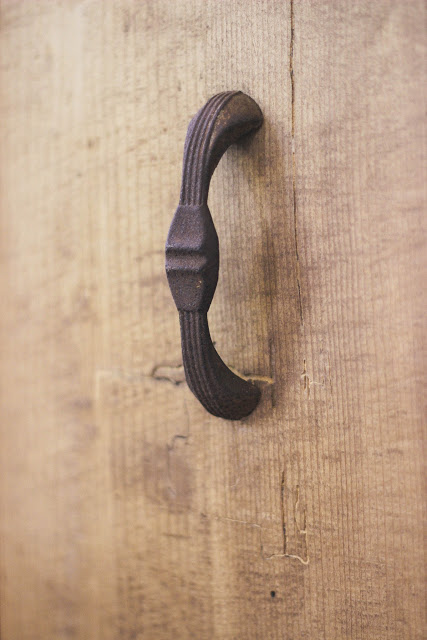
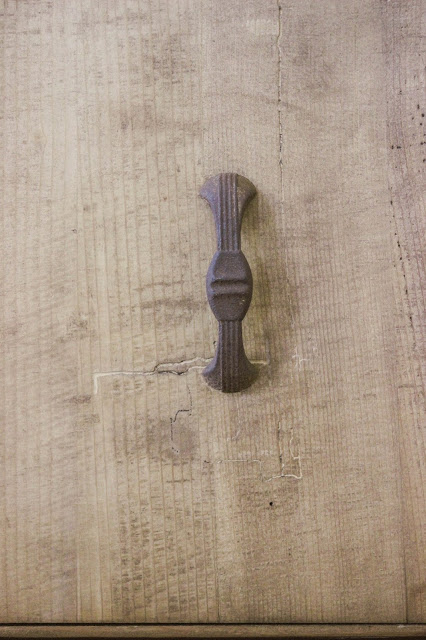
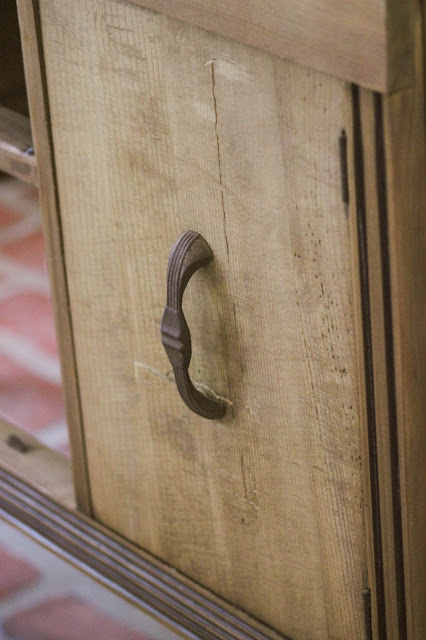
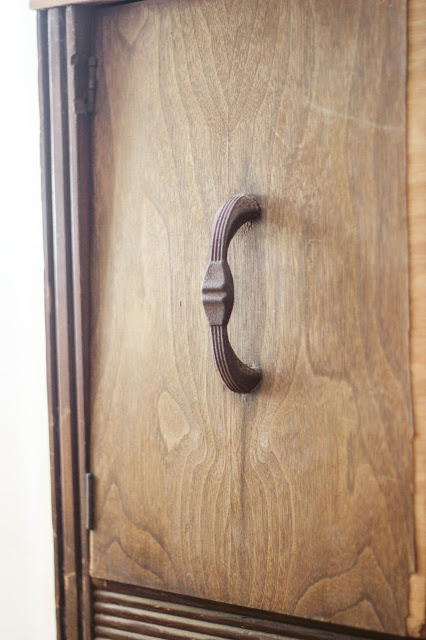
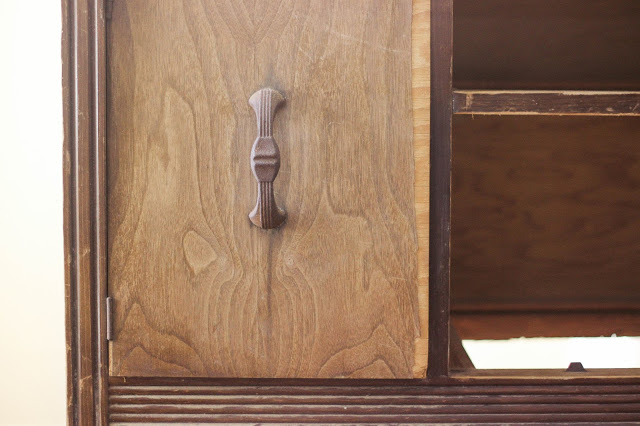
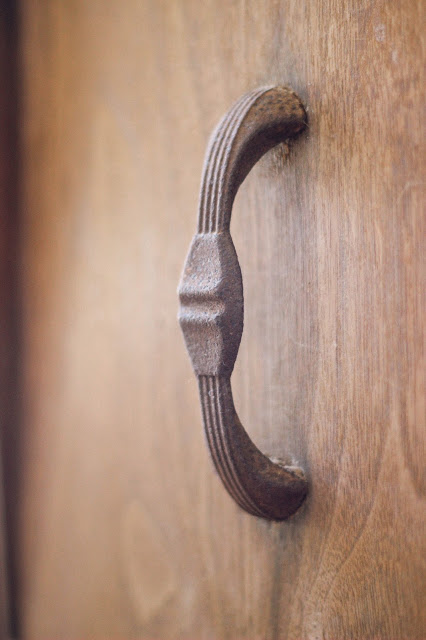
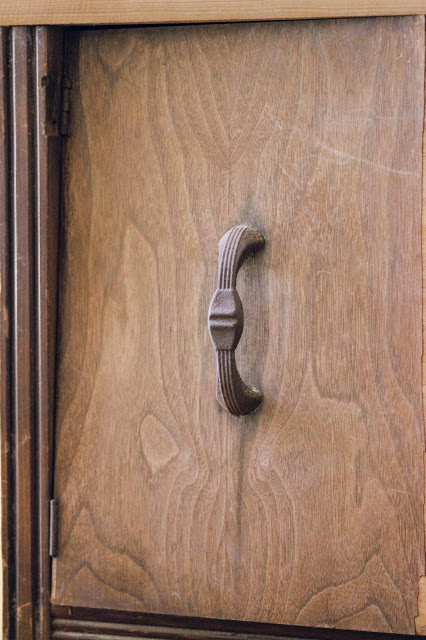
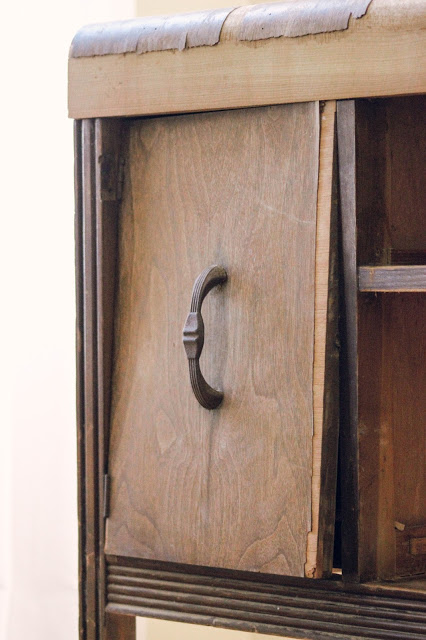
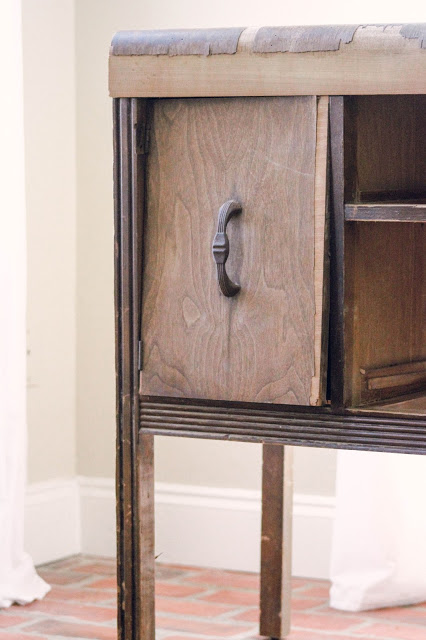
I chose to keep the original hardware. I love the aged look of it. besides a few new screws, the handles + hinges are original to the piece.
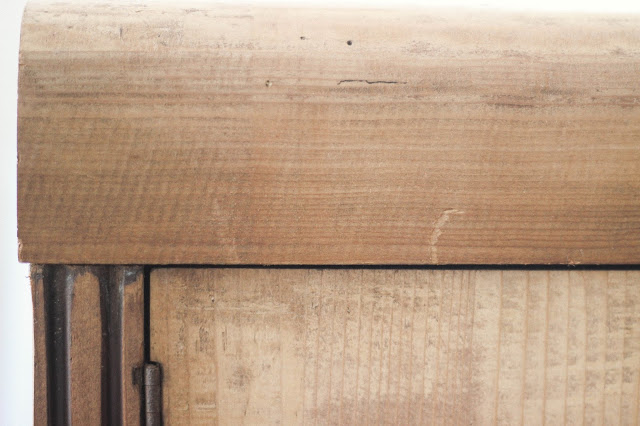
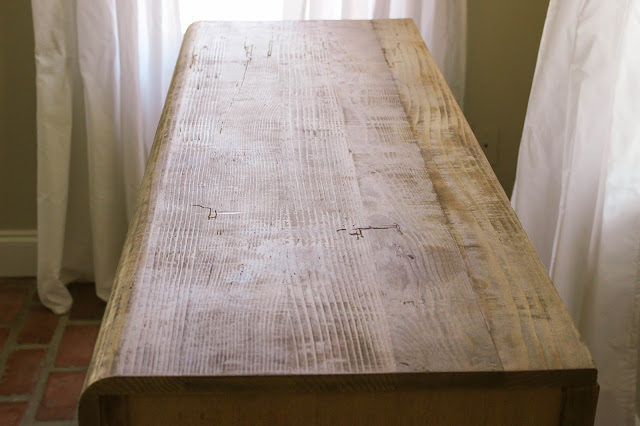
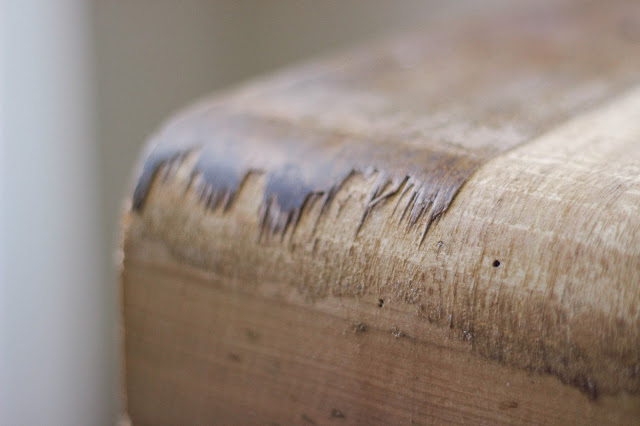
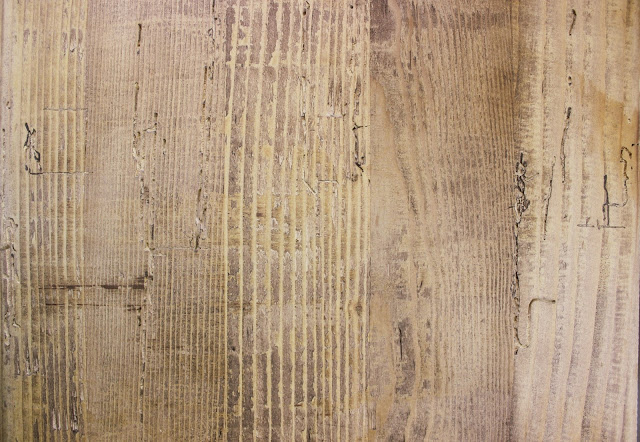
here's a close-up of the top after much sanding and applying the antiquing wax. I don't usually love stained things, but I love this finish. my husband's grandfather, who helped replace the sides, asked me if I planned on filling in the gaps + worm holes. he couldn't believe it when I told him I planned to keep it just the way it was. I think every scratch, dent, and worm hole adds a little character.
the missing drawers that used to be in the center of the buffet were broken and misplaced before I got my hands on this piece. I hate that, but I plan to have some wood cut and placed in the middle to make shelves and I'll find some baskets to fill them and create more storage.
this lovely piece of furniture once was a buffet in my husband's great, great grandmother's home, then lived hidden away in an old barn for years + years, and now is going to serve as a changing table + additional storage in our first baby's nursery.
maybe once I finish up the nursery and style this piece, I'll get around to sharing it with you. but don't hold your breath... it could be another six weeks or so.