This little side table belongs to my husband. it was purchased for his first college apartment just a few years ago. it is one of the pieces of furniture he brought into the marriage. it's been sitting in the corner of the spare bedroom, or man cave as Drew so affectionately refers to it, neglected for the past year.

Truth be told, I'd never really looked twice at the thing. it wasn't ugly, so it passed my inspection. but last weekend, I looked at it with fresh eyes and saw the potential. it's tiny. it probably wouldn't be tall enough to actually be a bedside table for our bed, as ours is on risers. but it's the perfect height to be a side table by the couch. and I can just picture it as a bedside table in a little boy's room someday.

I am a fan of chalkboard paint. who isn't these days? I've done a few projects with it... painting over framed thrift store artwork, boards, and even cardboard to make chalkboards. I had never considered painting furniture with it, though. but something got into me last weekend and I decided to give it a try.

Once again, I have no documentation of the process. but once again, it was fairly simple. I used Rustoleum Chalkboard Paint. I removed the drawer pulls, did a light sanding, and applied 2-3 coats of paint. I let it dry overnight. and the next morning, I "seasoned" it with chalk. I lightly rubbed chalk over the entire surface and then used a felt cloth to wipe it down. I was so happy with how it looked!
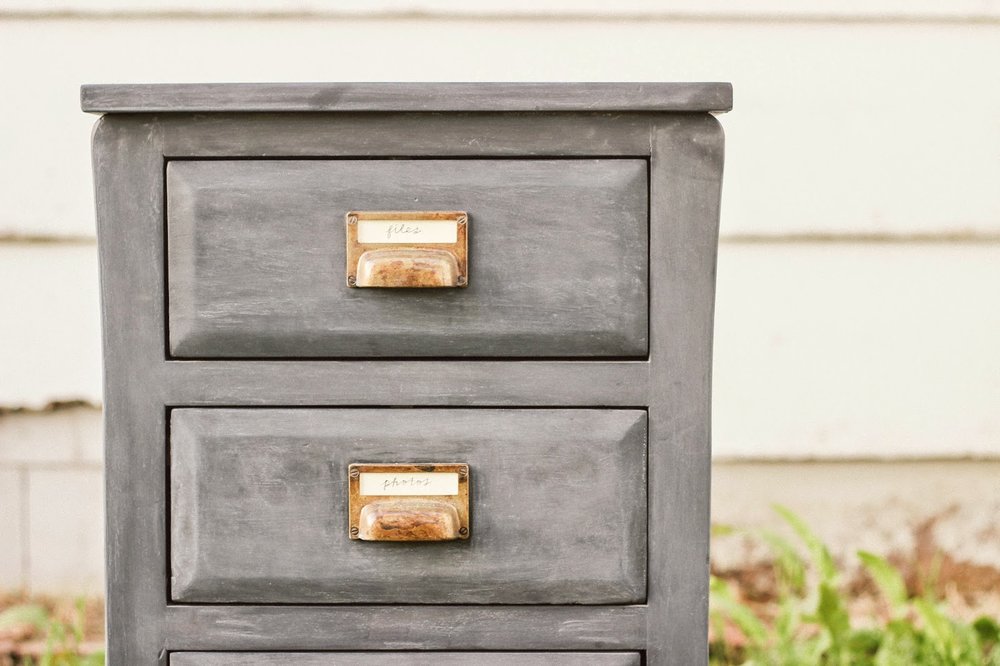
I also wanted to update the hardware on it. I think this is the thing I was most excited about. since I'm into gold these days, I decided to head in that direction for the drawer pulls. I've always loved the look of card catalogs; and even though this is clearly not a card catalog, I wanted it to have that feel. so I looked online for some pulls similar to that and found some at Home Depot. the most difficult part of this project was waiting for the drawer pulls to be delivered. I checked the order tracking obsessively. multiple times a day, every day, for a week. it felt like Christmas the day they arrived!

It could be an unconventional canvas to be drawn on [so it'd be perfect in a kid's room!], but I'd prefer it to not be used as a chalkboard. I just liked the slate appearance the chalkboard paint gave it. I'm so happy with the finished product and I hope you love it, too!