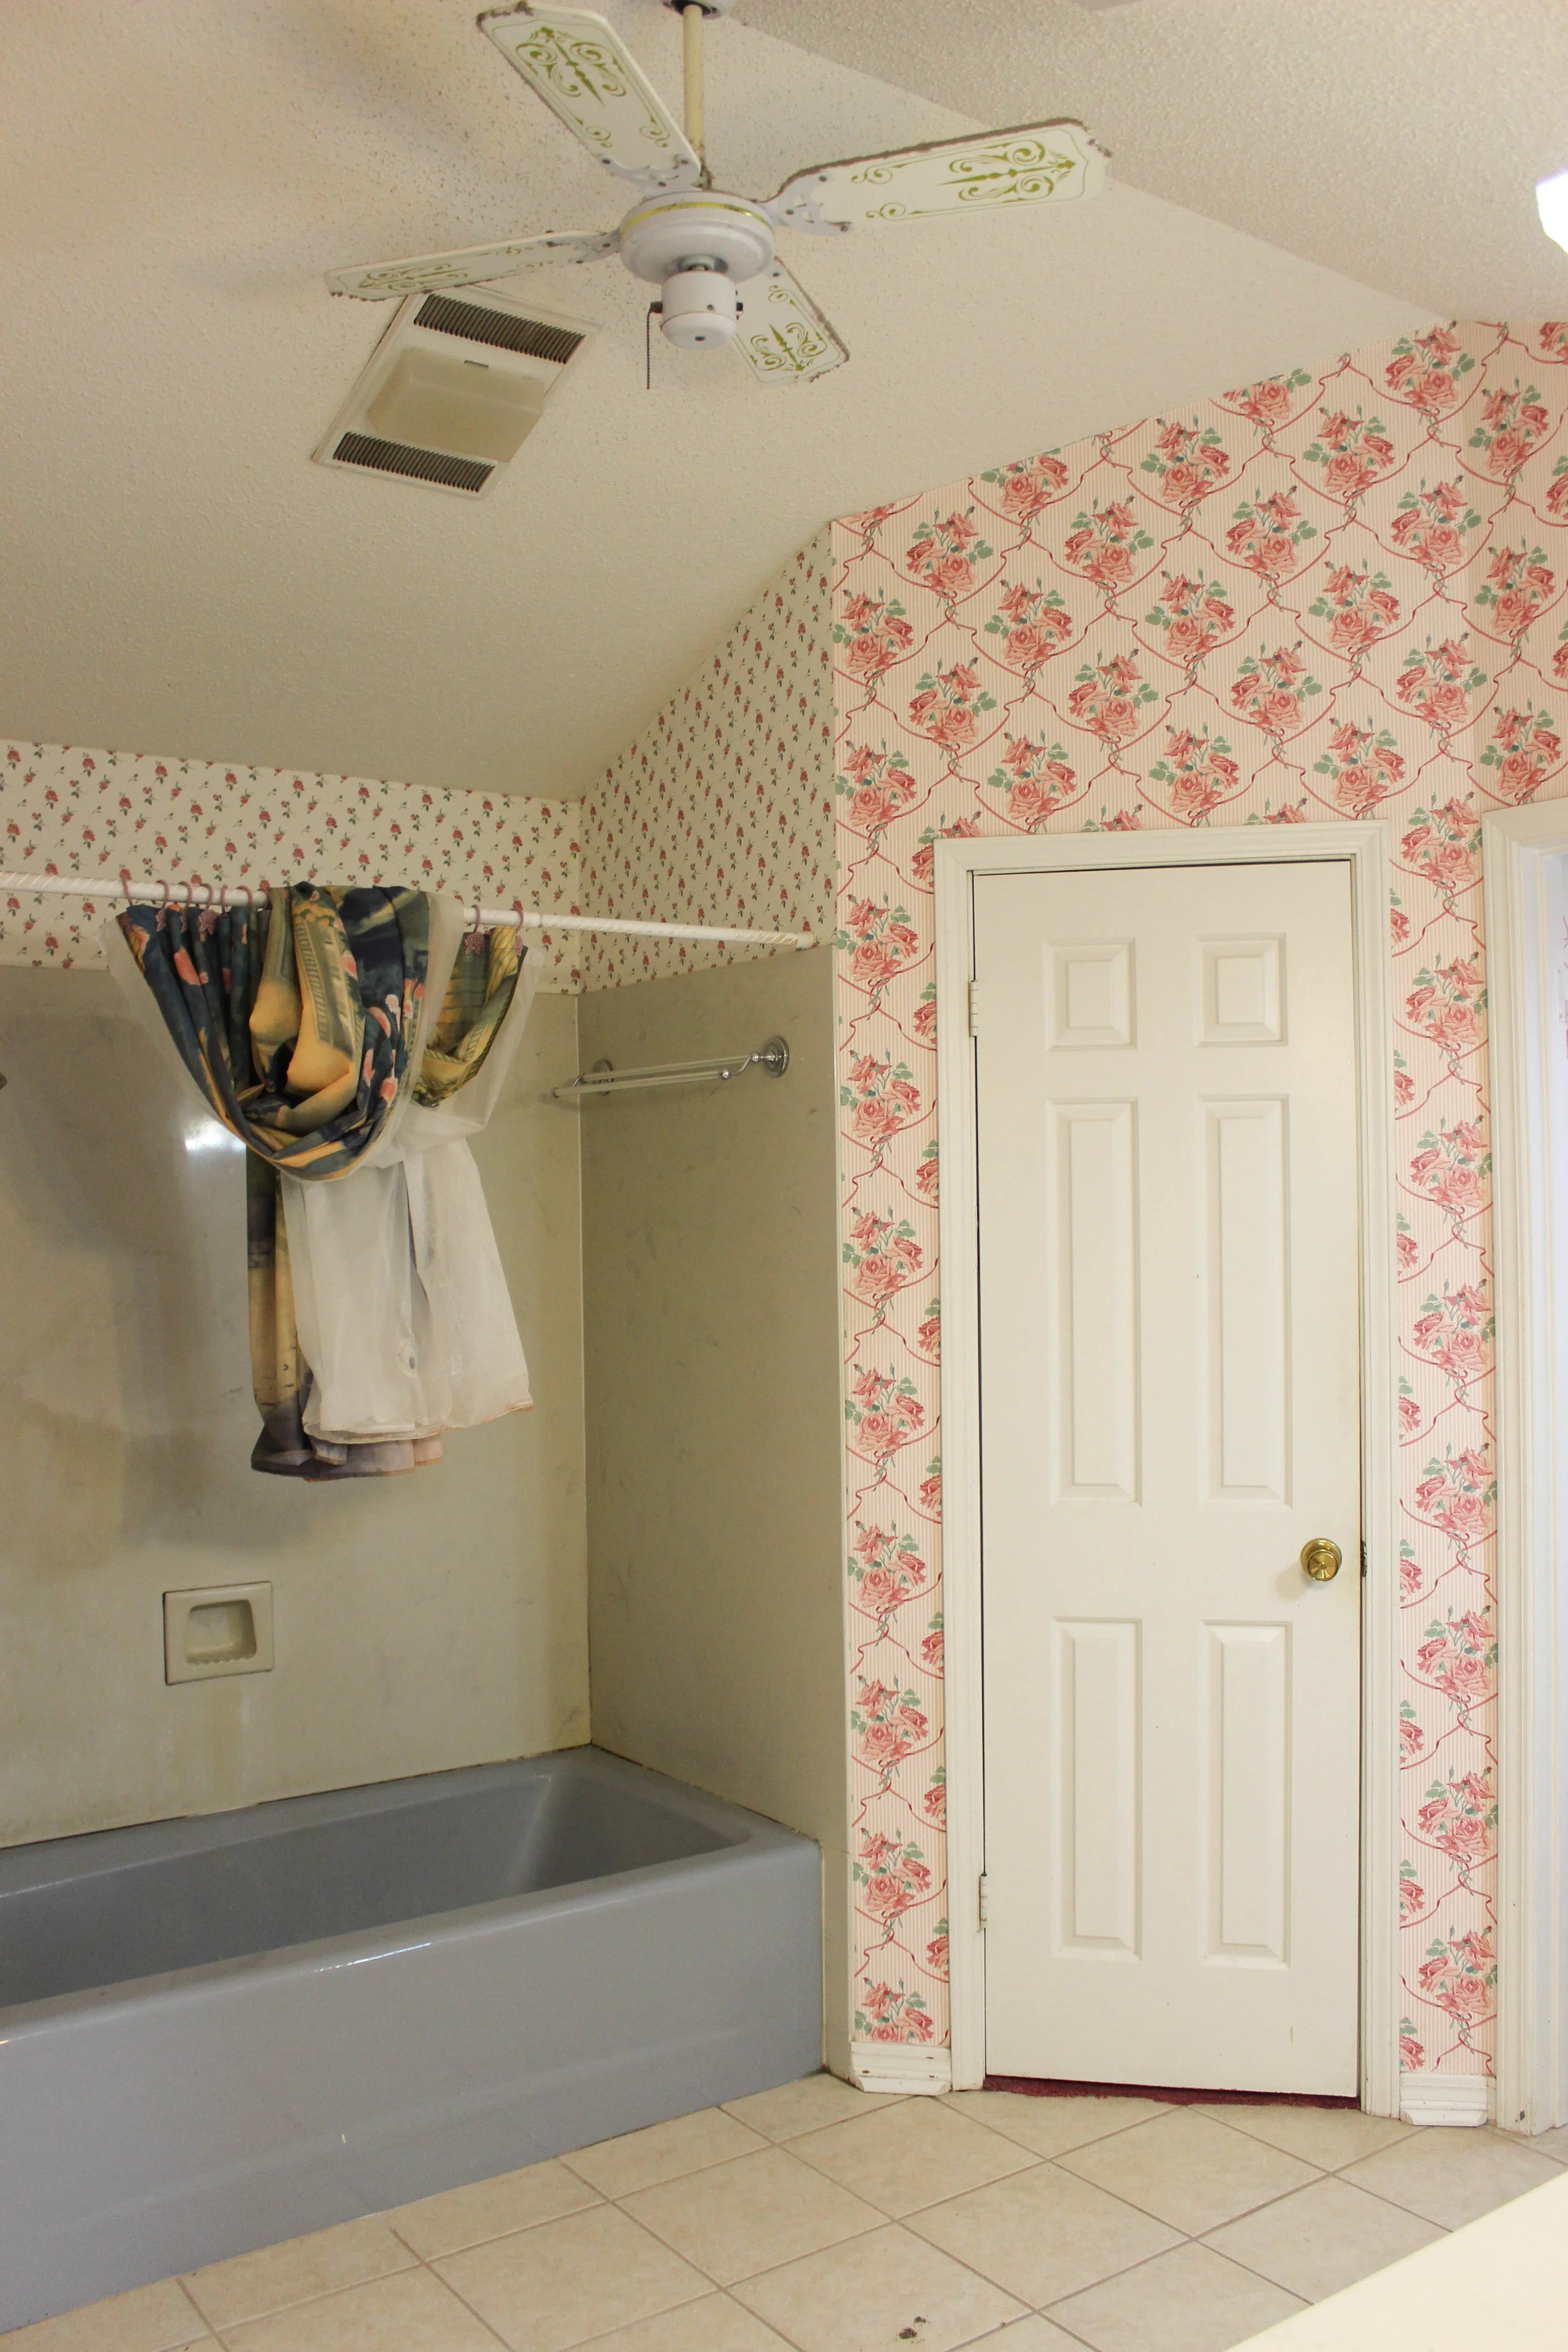
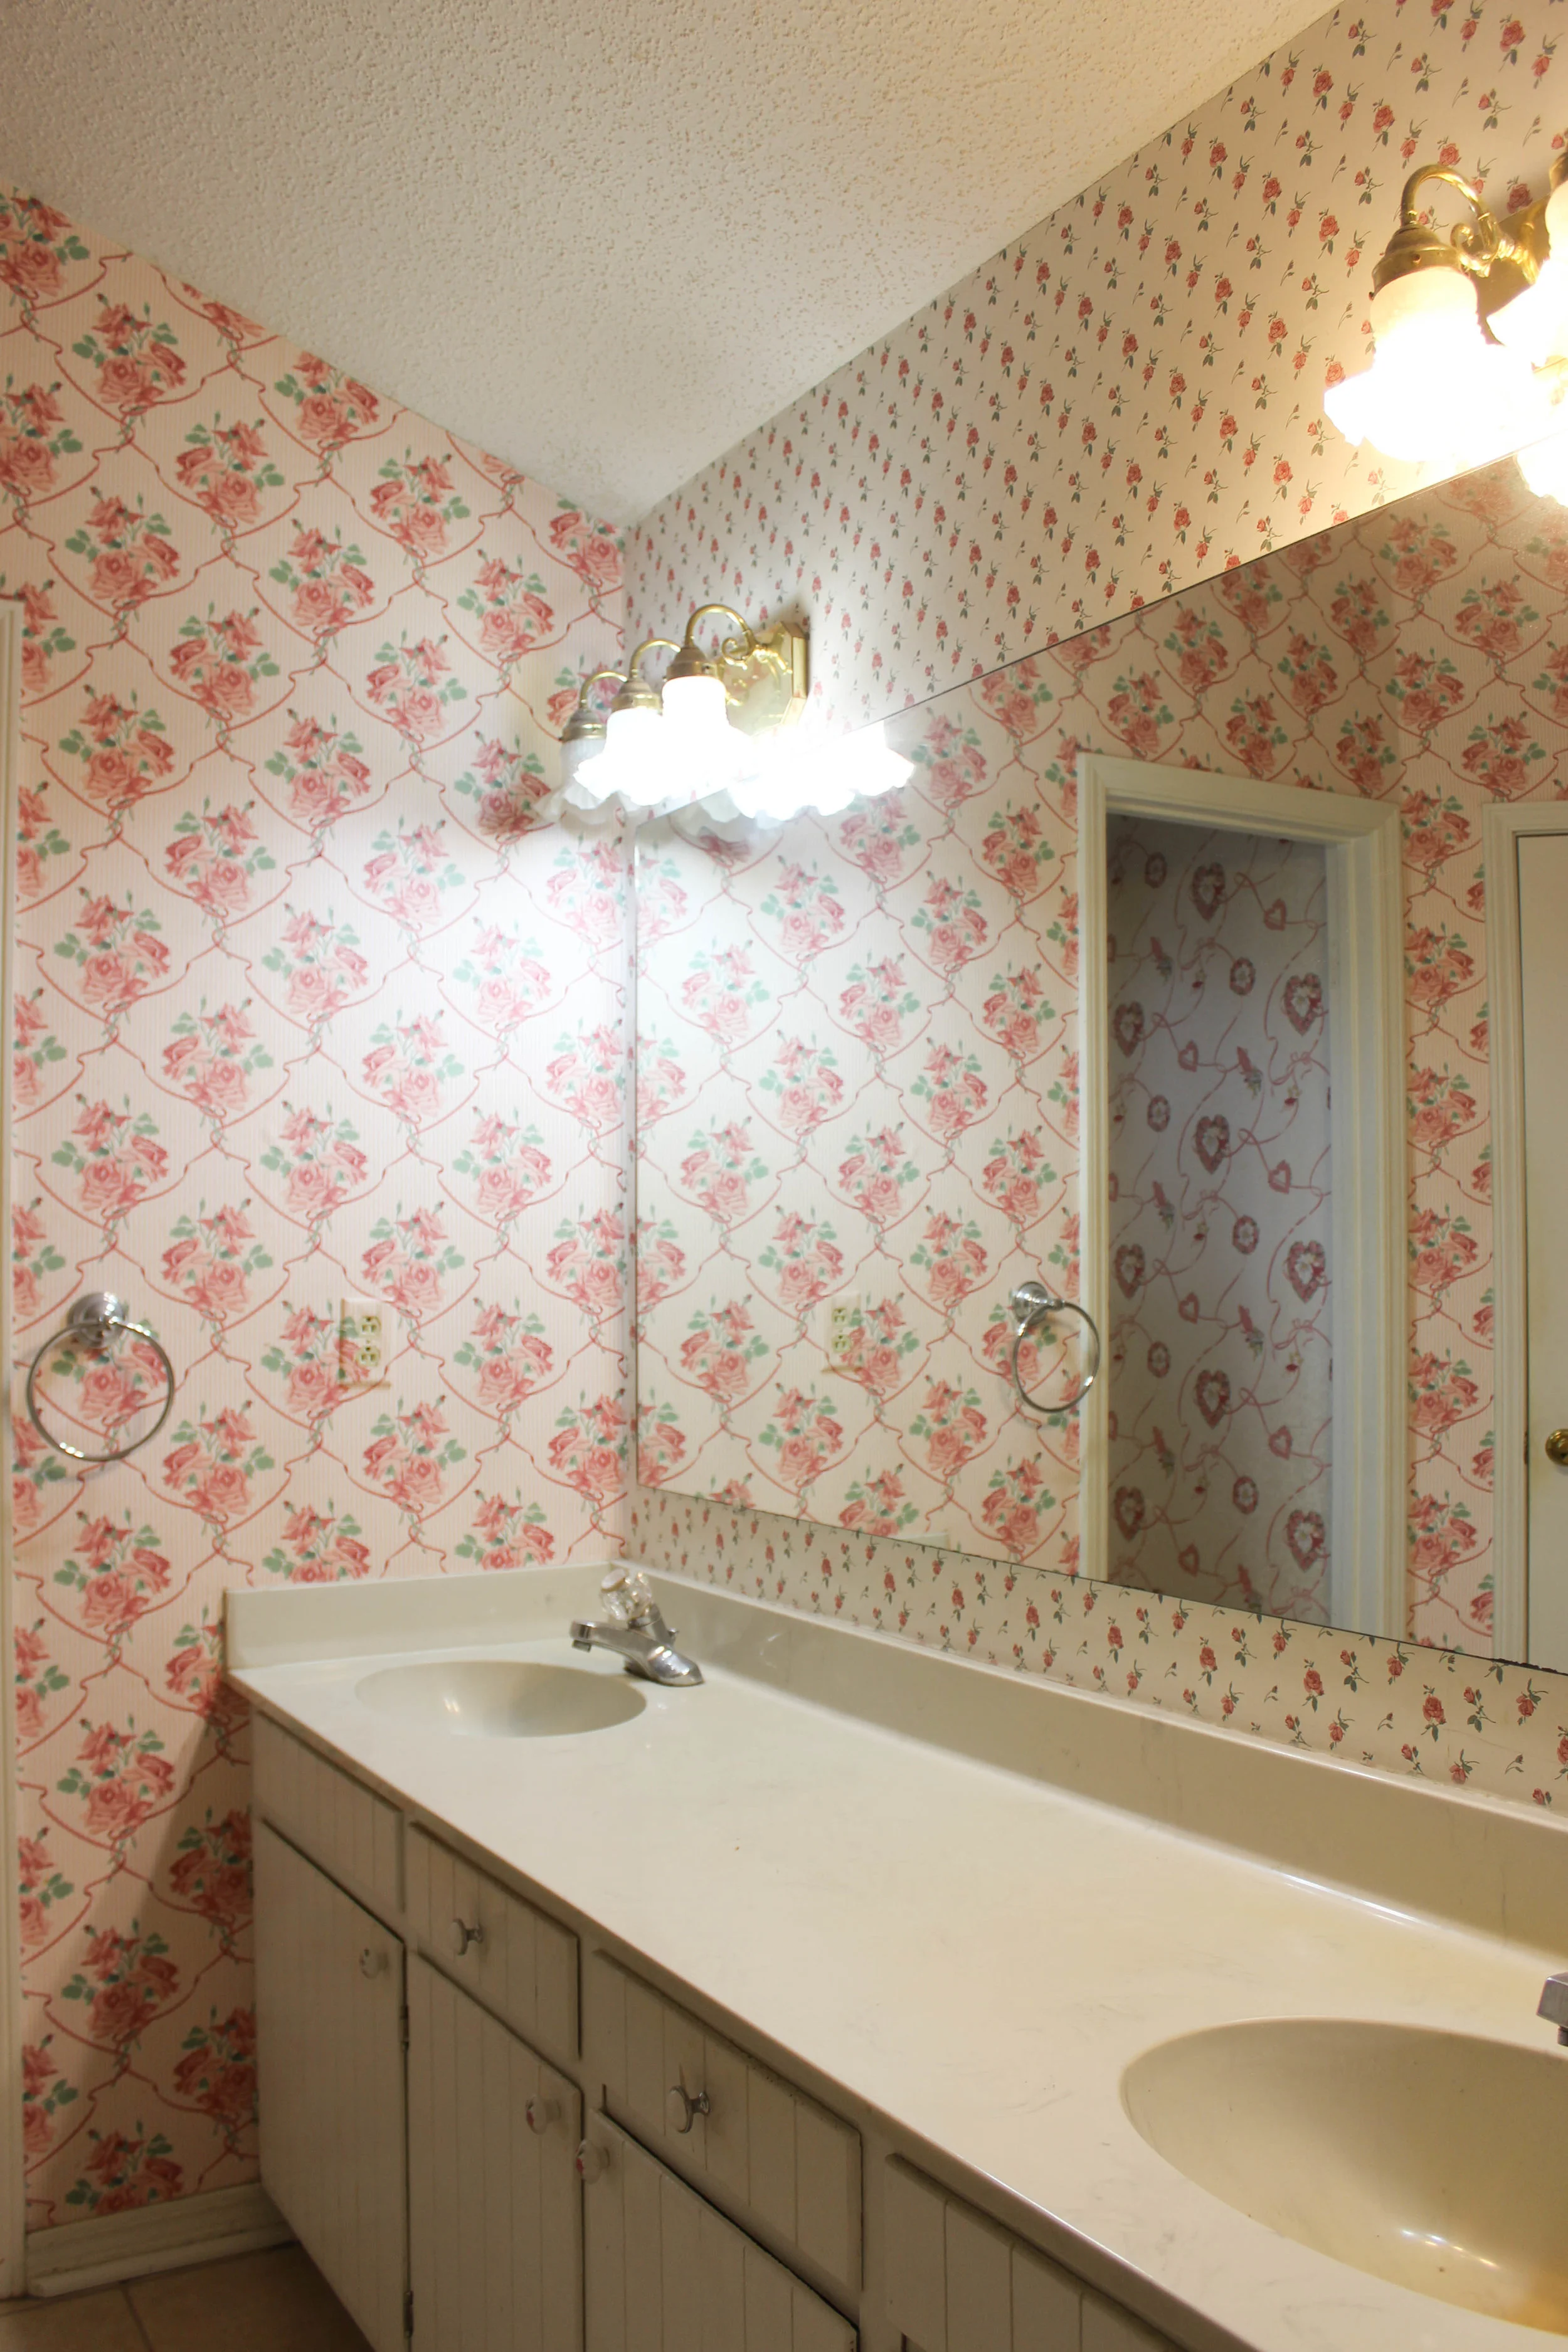
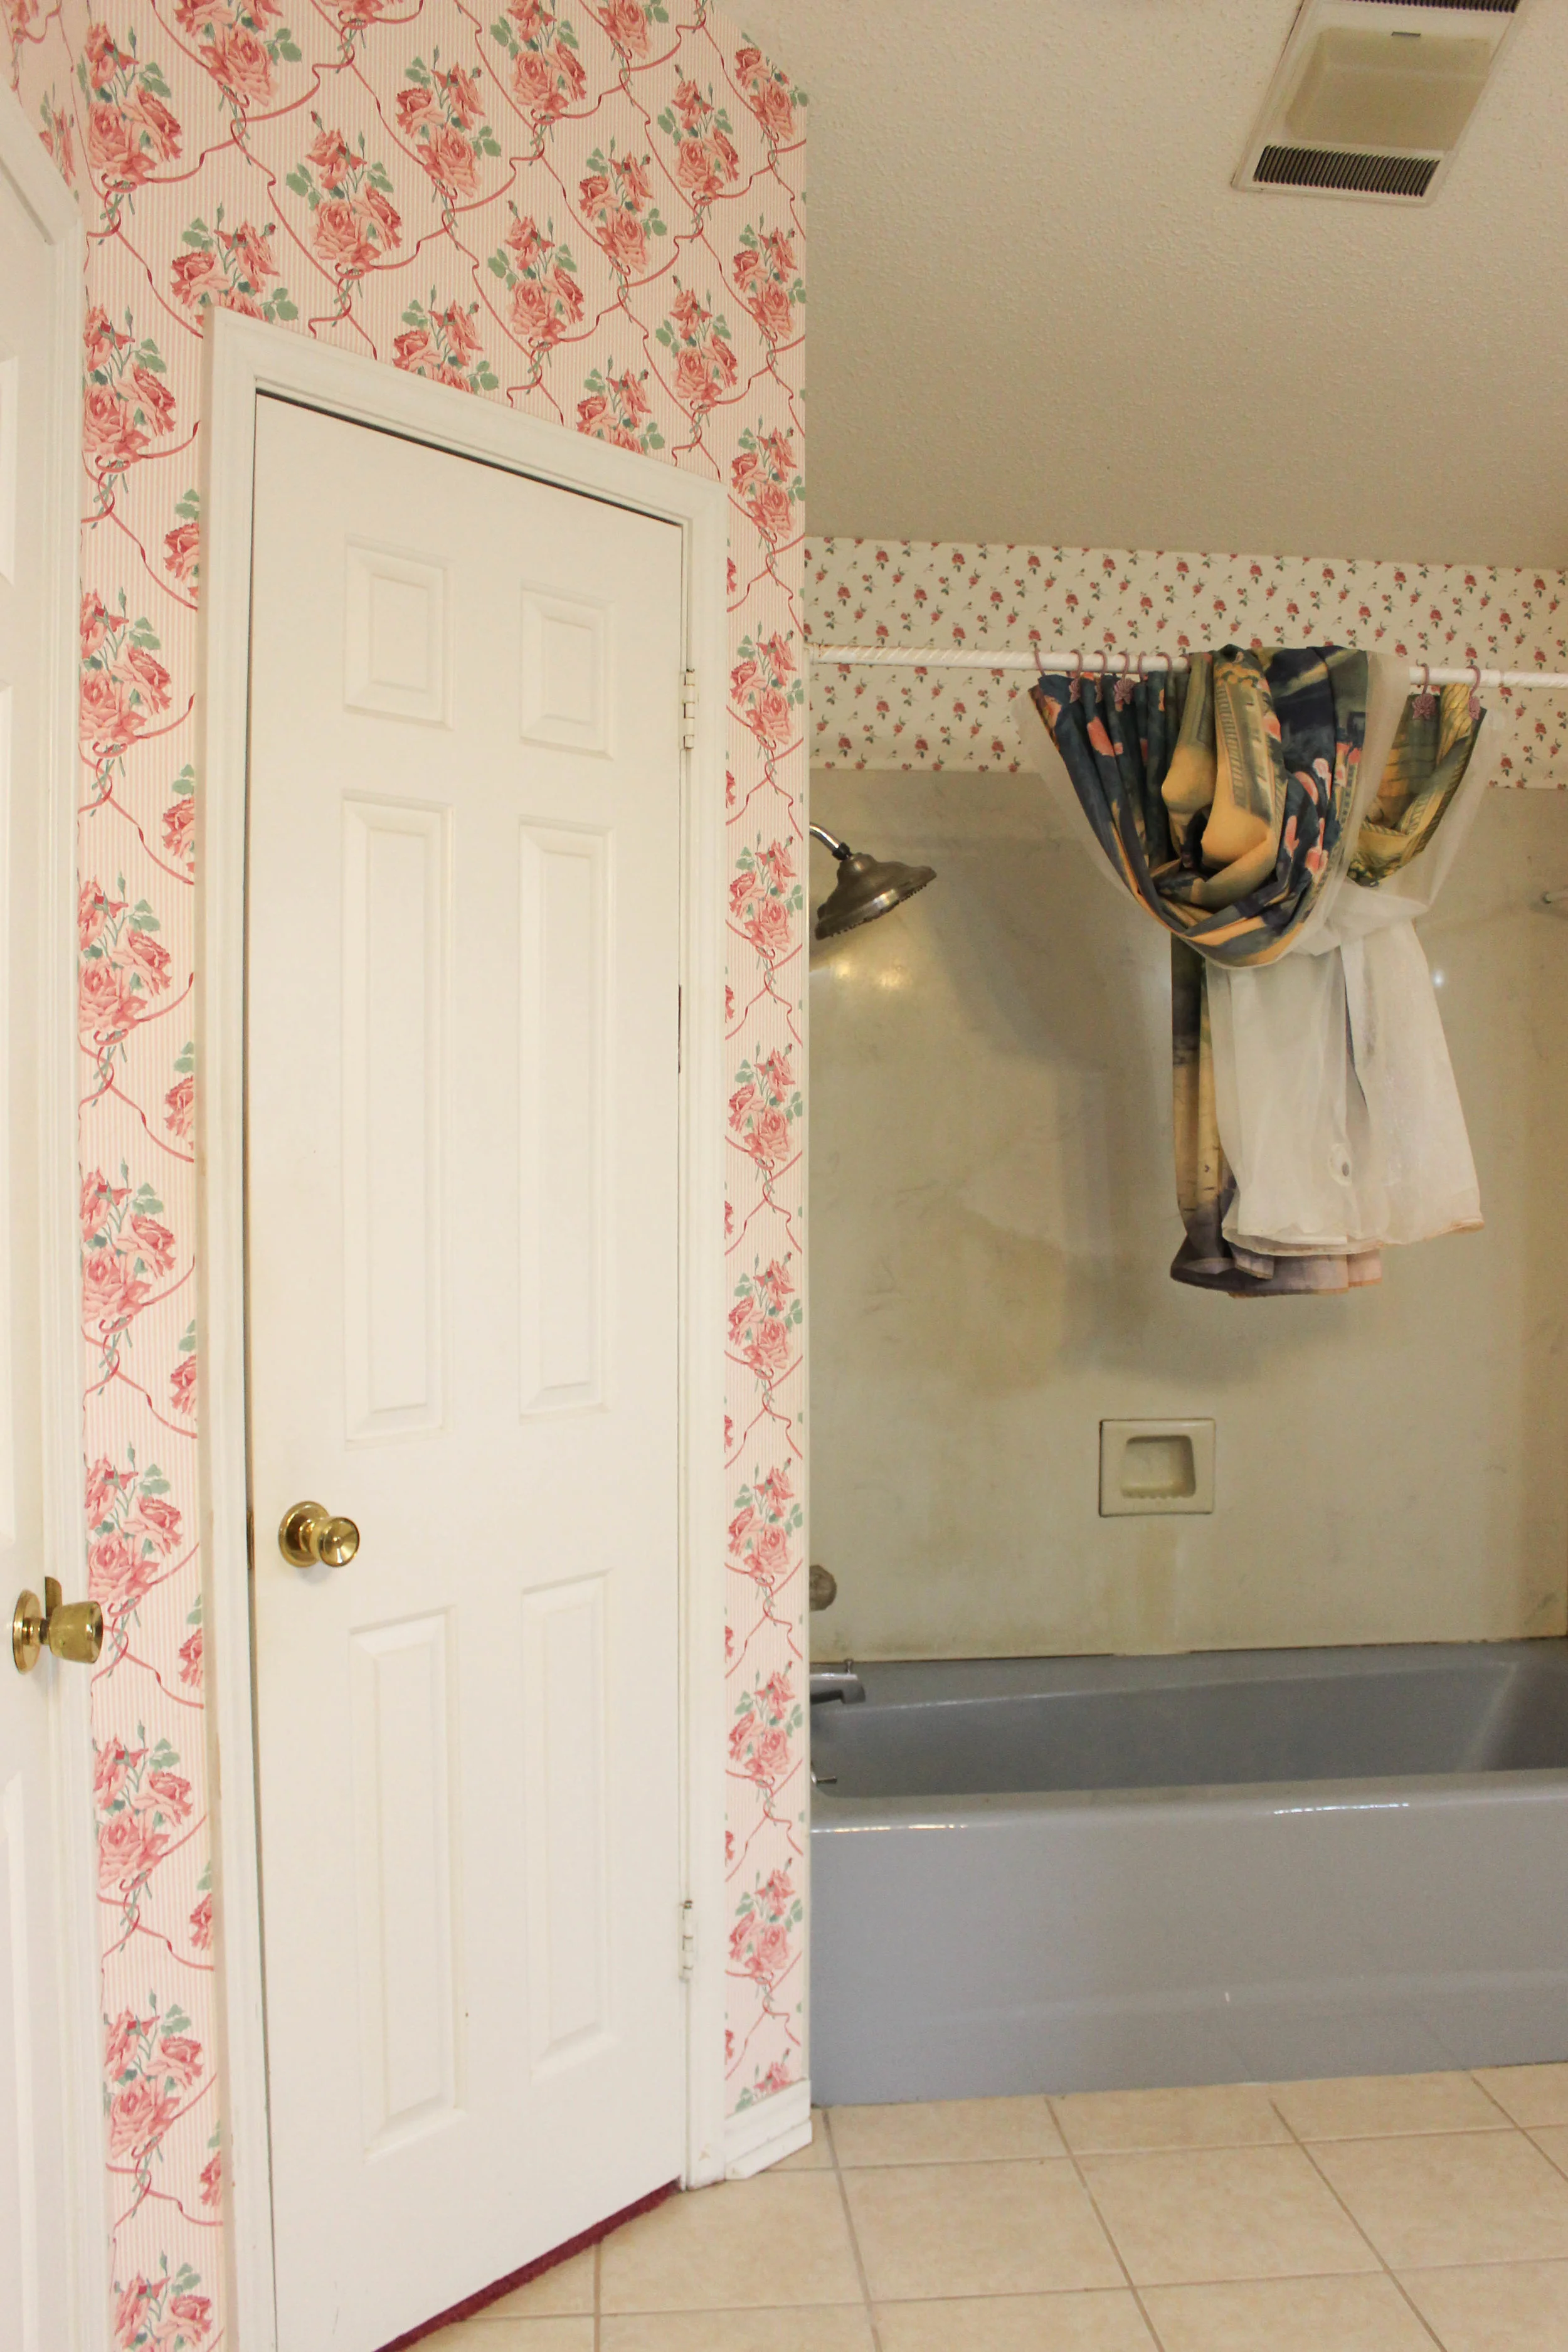
when we bought our home in December 2016, there was a laundry list of things that needed to be done. the popcorn ceilings were to be scraped and repainted. every wall in the one-and-a-half story house needed patching and painting. the kitchen and bathrooms had to be updated. the carpeting needed to be replaced. you get the idea. while I am thankful there is a fireplace [there wasn't one in the original tiny white house], I have never been never crazy about it. but with so much to do, this issue didn't even make the list.
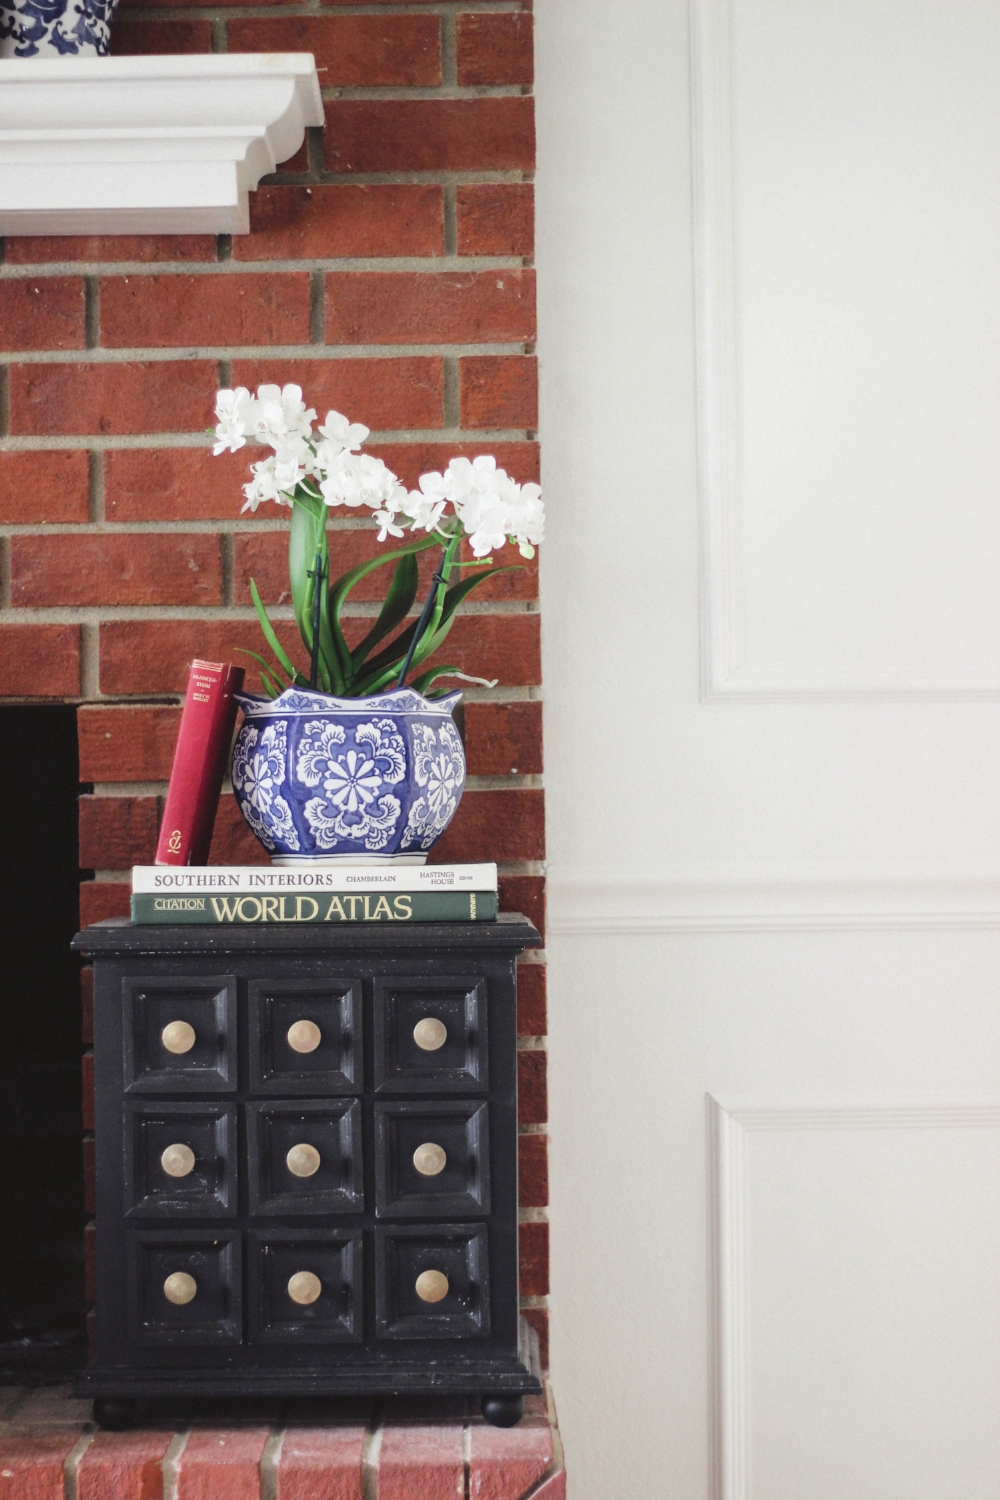
let me clarify: there wasn't anything wrong with the hearth, per se; it was simply dated and not my taste. the red brick matches the exterior of our home. I don't mind it there, but it doesn't do much for me inside. it just looks tired. I considered painting it white. I have always loved white brick. I was hesitant, though, because painting brick is so final. there's no coming back from that. I didn't want to paint it white and regret it and then be stuck with it. I also considered a wash... but after some research, I learned that the result of whitewashing red brick is pink brick. the only thing worse than a boring, 80s red brick fireplace is a boring, 80s pink brick fireplace. that was the last thing I was looking for.


fast forward to 2018. the fireplace remained untouched and I couldn't take it any longer. I began brainstorming, trying to figure out the solution to my dilemma. something I had considered earlier were built-ins. if there had been built-in shelving flanking the fireplace, it would not have seemed so out of place. I also wondered if the ceilings weren't quite as high, perhaps the fireplace wouldn't stand out the way it did. but, alas, there were no built-ins and the ceilings are high—the latter of which, I am glad about. as with most of my home endeavors, my budget was on the small side. consequentially, built-ins were out. and that really was okay with me.
so I brainstormed and daydreamed until I came up with just the fix. after scrolling through pinterest, I observed a common theme. several things I had recently pinned had gorgeous picture frame moulding. the wheels started turning and the solution finally came to me! what if we painted the walls flanking the fireplace white and added a chair rail and a little moulding. sounds easy enough, right? compared to some of our other projects, it was!
there are lots of helpful tutorials all over the internet with detailed how-to guides, so I'll leave that to them. this tutorial from Kristi of Addicted2Decorating was the particular source we used for our project. between skimming a couple of online tutorials and using a little common sense, we were able to bring my vision to life.

one of the best parts of this project to me was how dramatic a difference was made for the price. for Christmas last year, we were given a $150 Lowe's gift card and we were able to buy almost all of the supplies [millwork, roller brush, roller frame, and paint tray] needed for this project and still had $40ish left over! as for the tools, we borrowed a chop saw from my husband's grandfather and Drew already had the other required tools [nail gun and level] on hand.
all millwork needed for this project was purchased from Lowe's. in our case, a piece of 12' chair moulding was more than enough for the chair rail. we also bought about ten 8' pieces of picture frame moulding.
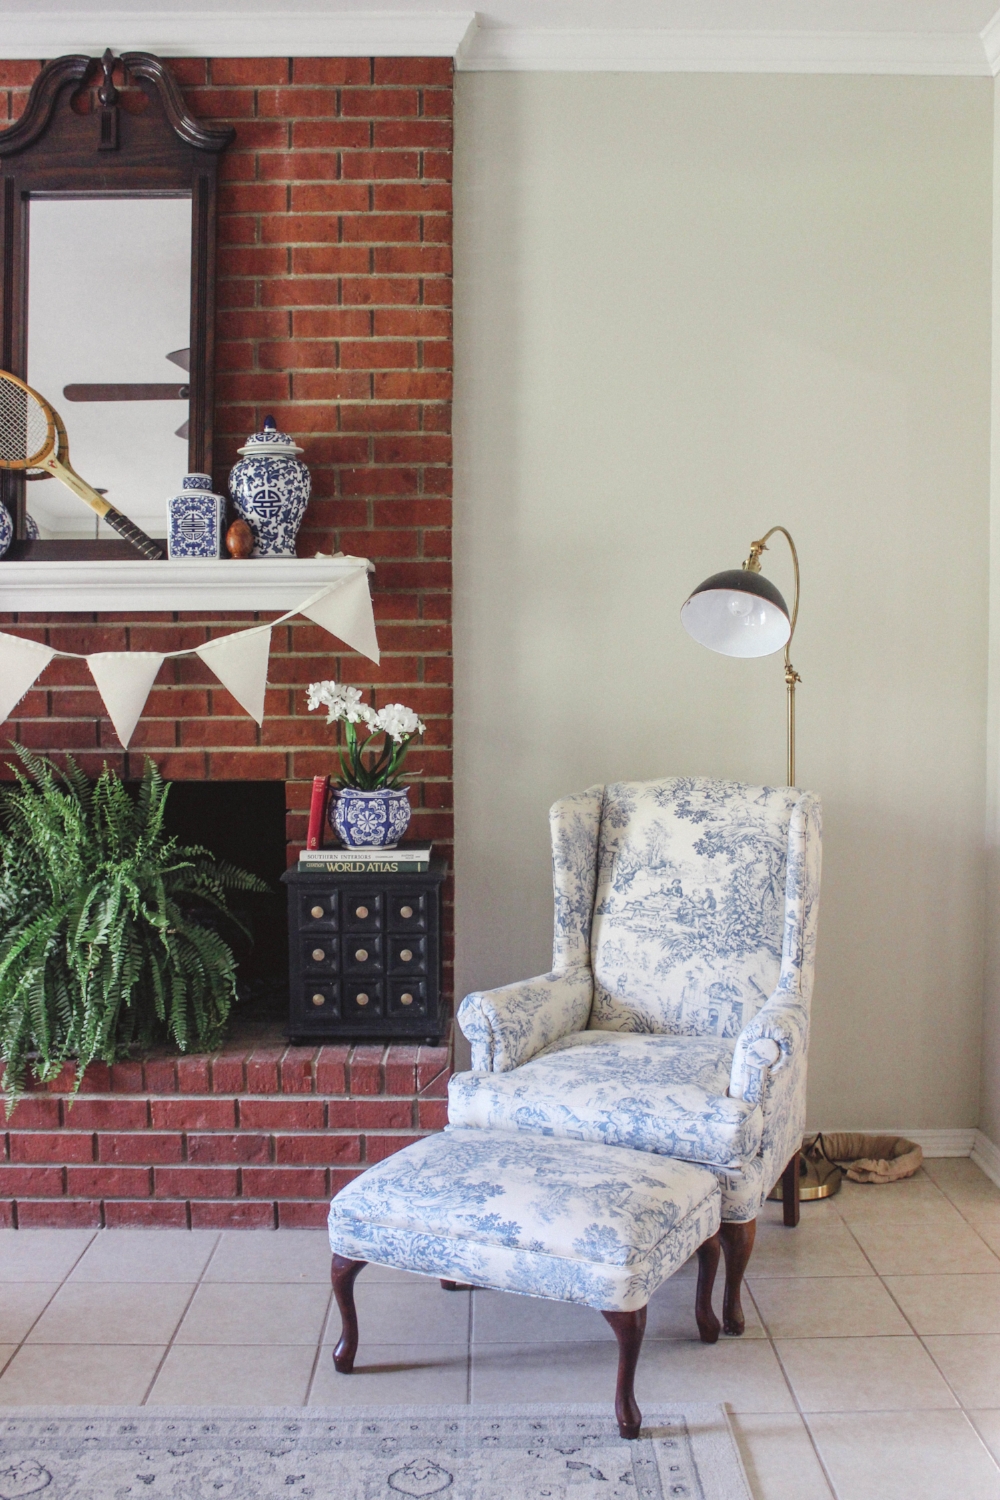
I wanted the new wall color to match our current trim and ceiling color. I thought [read: hoped] this would make the new wainscoting to seem as if it had always been part of the house. I painted the walls in Benjamin Moore's White Dove in an eggshell finish. I painted the chair rail and picture frame moulding the same shade of white in semigloss. I had enough trim paint left over from our home renovation to use for the chair rail and moulding, and bought a new can of paint at Sherwin-Williams in the same shade, in an eggshell finish for the wall color.
I painted the walls while my husband cut the moulding. lucky for this project [and our marriage], he is good with measuring and numbers and all that. remember, I mentioned in my bio that this is not my strong suit. and when I say 'strong suit,' I really just mean suit. math isn't my suit at all. if the wires in my brain to compute mathematics do, in fact, exist, they are not connected. not even close. but if you need a good guesstimate, I'm your girl. I am the queen of eyeballing measurements. seriously.
once the walls were dry, my husband installed the chair rail. together, we attached the picture moulding—I held, he nailed. next, he filled any holes or gaps with caulk. then, I painted all the trim. this project took about four or five hours to complete, not including breaks. the walls were painted Friday evening, dried overnight, and the millwork was cut and installed while the babies' were down for naps Saturday. I finished painting the trim Saturday night after the boys had gone to bed. although it was challenging to work in segments rather than knocking it out at once, it was a treat to wake up Sunday morning to a completed project and admire our hard work.
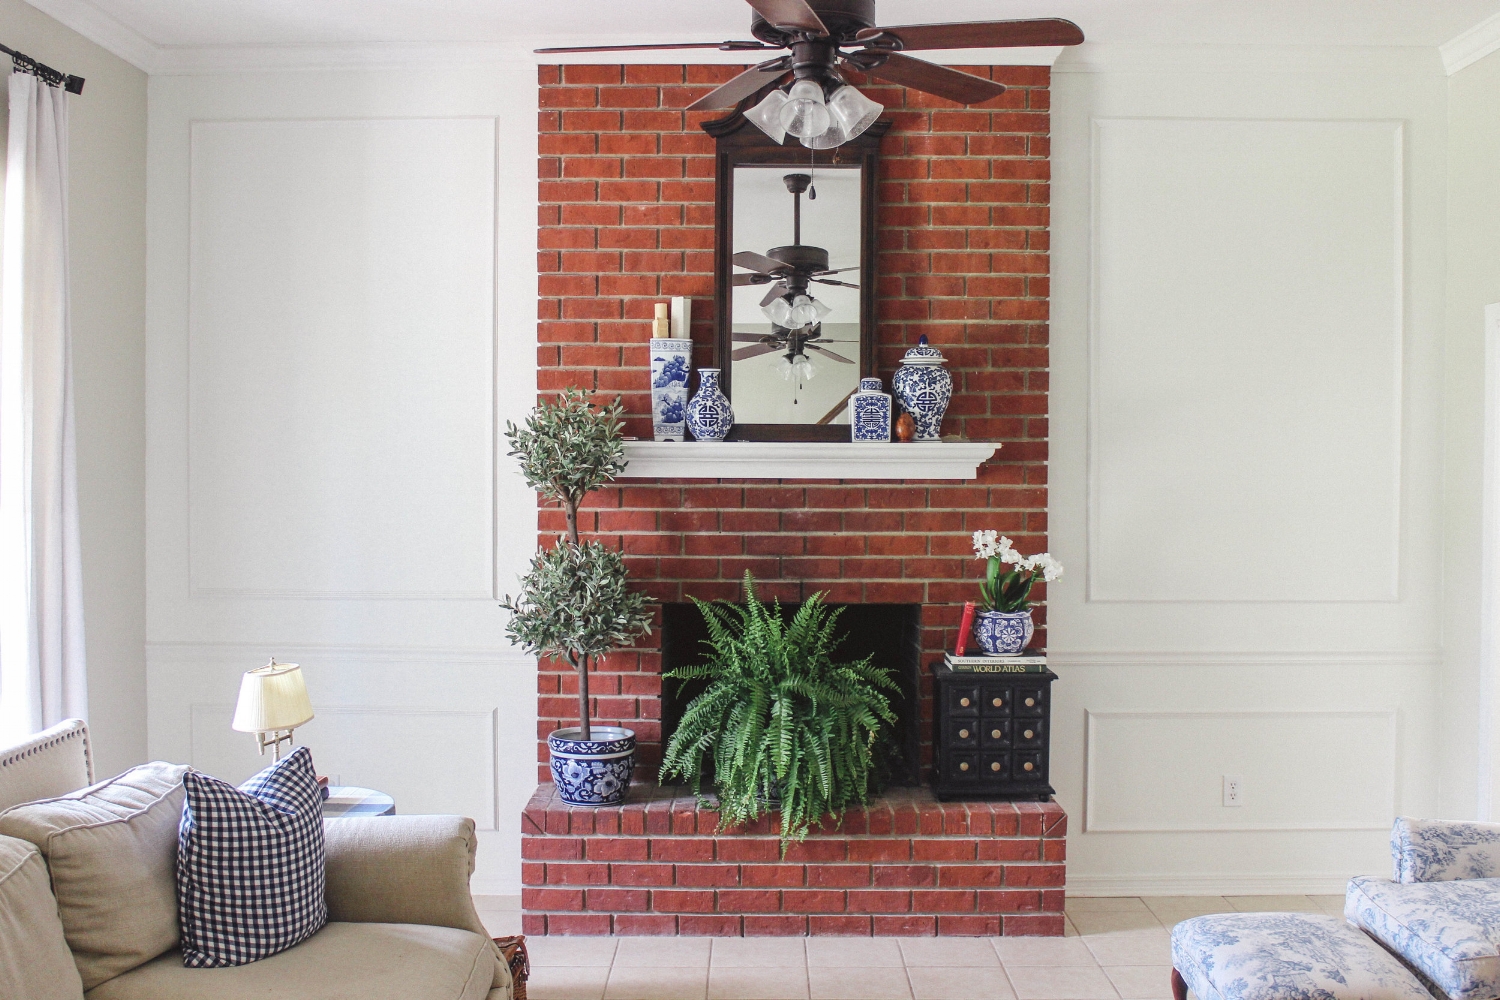


I could not be happier with the finished product. what a transformation! it creates interest, adds architectural detail, and draws the eye up to the 11' ceilings—which definitely deserve some admiration after all the hours my sweet husband spent removing the popcorn texture and repainting. all in all, about $150 was spent. not too shabby considering. on a difficulty scale of 1-10, my handyman rated this project a 4. after we finished, we pulled out the lawn chairs to sit and admire our work. I'm kidding. however, we did discuss doing so and probably would have if we owned lawn chairs. sometimes, it makes me feel like I'm in a fancy New York apartment, but these sweltering, summer temps remind me that I'm home, sweet home in Louisiana.


just for fun... here are a few shots of how our living room has evolved since we got the keys to our fixer-upper mid-December of 2016.


this room has come a long way. and the best part—I'm just getting started! it's still a little vanilla as far as the color goes. I'd love a darker rug and more furniture and accessories, but you know... we're living real life over here. we've got kids to feed and bills to pay, and apparently that is the priority. I do have big plans for the artwork that will be featured inside the picture frame moulding. stay tuned to see just what it is...
what do you think? do you have picture frame moulding or some type of wainscoting in your home? is that something you would ever add?